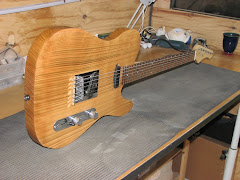
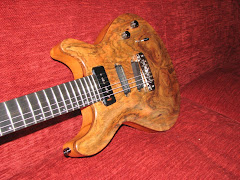
I grabbed this one from eBay last week. It was expensive as there were a couple of other bidders who seemed particularly keen on it. If you were one of those, please get in touch, as I'd be interested in knowing why you were so interested! The price was <£100 with about 20 seconds to go. In the last 10 seconds, the price went up a lot more than I expected it to!
The eBay seller had found the guitar at a car boot sale. The previous owner says that it had been in a shed for many years prior to the car boot sale. And it looks like it!
The guitar was going to need some TLC, just to clean it up cosmetically. However, the problems are a little more fundamental as it currently doesn't work at all. One of the downsides of all the complicated electronics on this guitar is that the control cavity is stuffed full of wires;
Unfortunately, not all wires are connected to where they should be connected, so the guitar is not producing any sound at all. A number of solder joints have clearly failed, but working out which wires should be connected where will take a while, and only then can I try re-soldering those joints.
The controls are; Master Vol & Tone plus 3-way selector switch (all standard so far). Coil tap and phase mini-toggles (fairly standard options on many Kawai guitars). A 6-position varitone (that's a complex looking little switch!). But then it gets slightly more complex ... a pre-amp with level control and boost/distortion, all powered by a 9v battery.
Inside the cavity we have 3 standard sized pots, 4 mini-toggle switches, a 3-way pickup selector, the Varitone switch, the pre-amp circuitry, the battery connector and a large output jack that allows the battery to be switched on or off. It's a standard sized control cavity. I'm going to need a small soldering iron!
I've spent a couple of hours trying to draw out the "as is" state of the wiring, including the wires that don't get connected anywhere at the moment. Then I'll try to work out WHY they're connected as they are, and how to reconnect the "spare" wires. One day, my knowledge and competence with electrics - even basics like this - will reach the rudimentary stage. Right now, I'm nowhere near that level. So this project could take a while ... stay tuned for updates!


No comments:
Post a Comment